
Serverless Workflow to Process Files Uploaded to Amazon S3
5 min read
On this page
This is going to be a walkthrough of one of the labs I did on Udemy to build a Serverless Workflow in AWS. The task of the lab was to take any JSON file uploaded to an S3 bucket and store the data from it in DynamoDB.
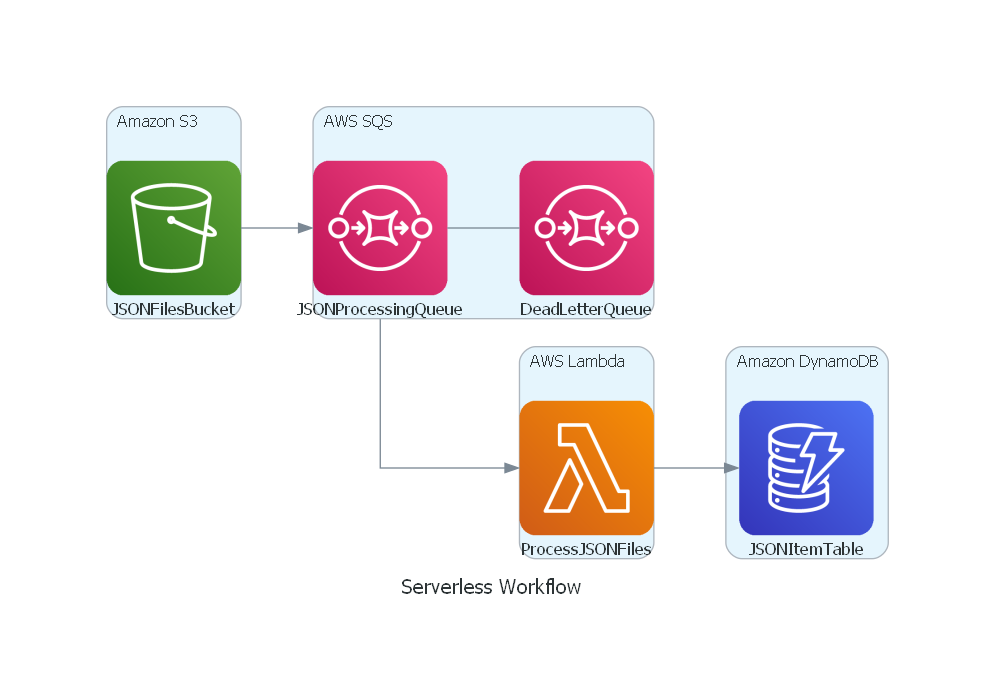
INFO — Source code for diagram
from diagrams import Cluster, Diagram
from diagrams.aws.compute import Lambda
from diagrams.aws.database import Dynamodb
from diagrams.aws.integration import SQS
from diagrams.aws.storage import S3

with Diagram("Serverless Workflow", graph_attr={"margin": "-1"}, show=False):
    with Cluster("Amazon S3"):
        s3_bucket = S3("JSONFilesBucket")

    with Cluster("AWS SQS"):
        dlq = SQS("DeadLetterQueue")
        json_processing_queue = SQS("JSONProcessingQueue")
        json_processing_queue - dlq

    with Cluster("AWS Lambda"):
        lambda_function = Lambda("ProcessJSONFiles")

    with Cluster("Amazon DynamoDB"):
        dynamodb_table = Dynamodb("JSONItemTable")

    s3_bucket >> json_processing_queue >> lambda_function >> dynamodb_table
What it covers:
- Efficiently process AWS S3 events using AWS SQS Message Queues.
- Trigger an AWS Lambda Function to process the messages in the SQS queue.
- We can process the file in the AWS Lambda Function if required.
- Store the data in AWS DynamoDB. This is written through the AWS Lambda Function.
- IAM Role can be used to manage access.
Creating S3 bucket for storing files
- Navigate to console.aws.amazon.com/console/home
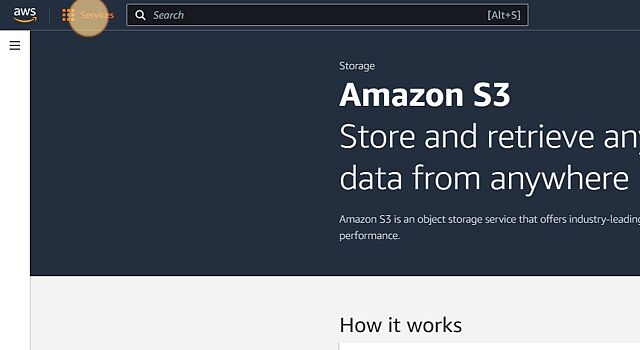
- Click “Services”
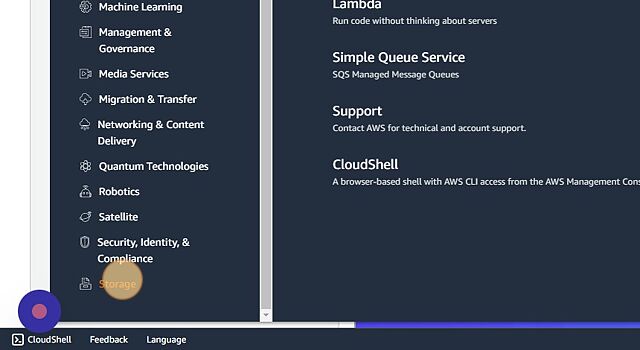
- Click “Storage”
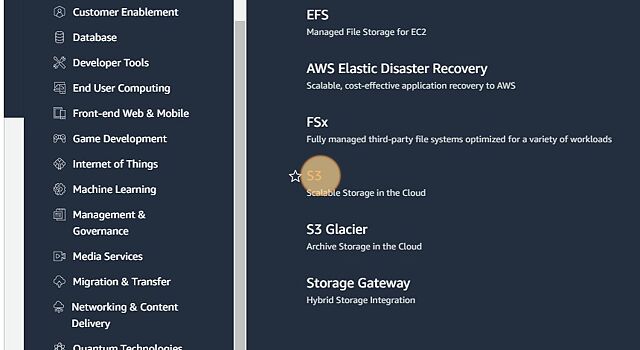
- Click “S3”
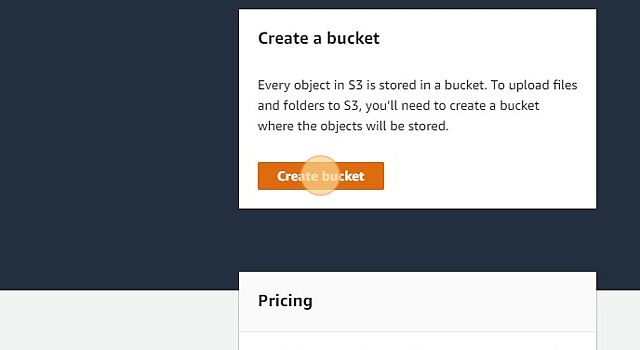
- Click “Create bucket”
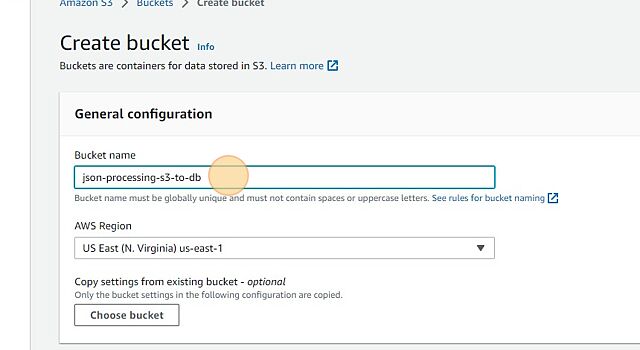
- Give some unique name for bucket like “json-processing-bucket”
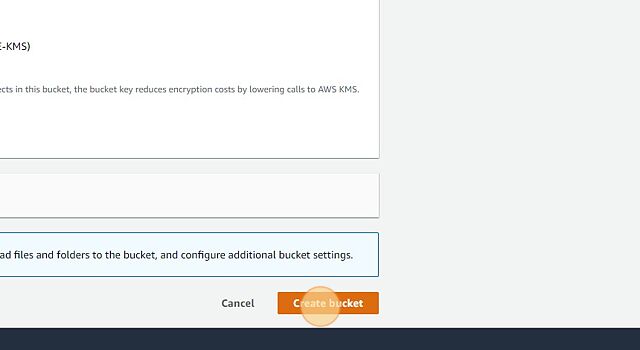
- Click “Create bucket”
Creating Table in DynamoDB
- Navigate to console.aws.amazon.com/console/home
- Click “Services”
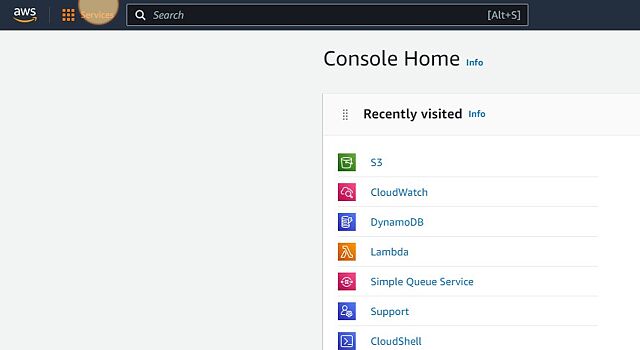
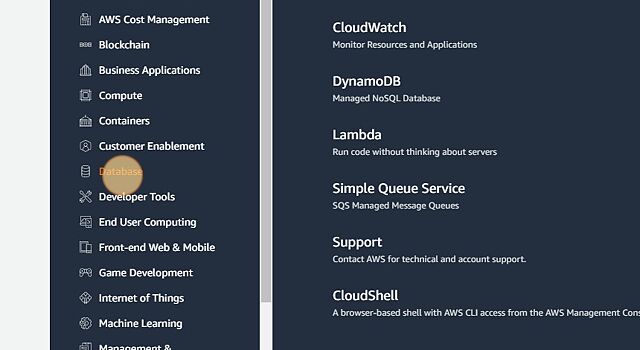
- Click “Database”
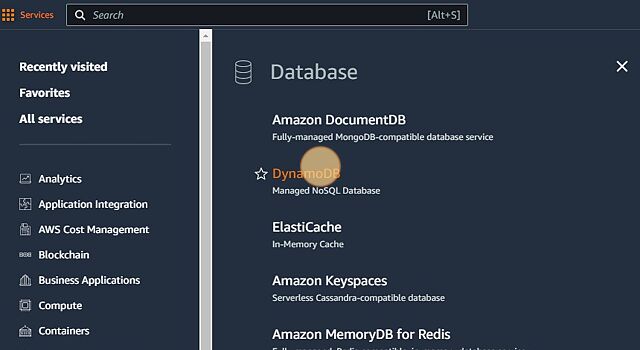
- Click “DynamoDB”
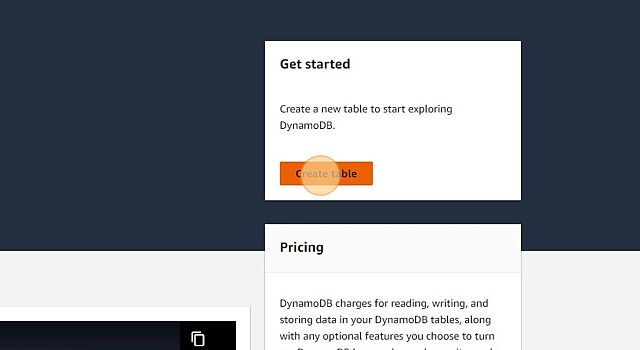
- Click “Create table”
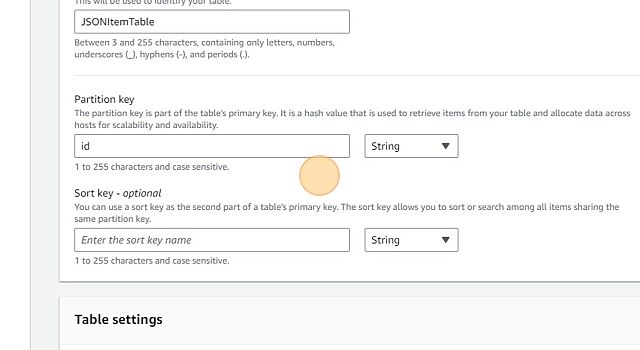
- Give some unique name for DB Table like “JSONItemTable” and provide a primary key like “id”. This will be later used to update data via the AWS Lambda function.
- Click “Create table”
Create Lambda Function
Create role for Lambda Function
Before creating the Lambda Function we can set up a role and limit access to what this Lambda function can do. Basically we want this Lambda Function to:
- Have read access to the S3 bucket -> This is possible via AmazonS3ReadOnlyAccess
- Receive messages from SQS -> This is possible via AWSLambdaSQSQueueExecutionRole
- Have write access to DynamoDB -> AmazonDynamoDBFullAccess
- Have write access to CloudWatch in case we want to debug -> AWSLambdaBasicExecutionRole
To create this role
- Click “Services”
- Click “Security, Identity, & Compliance”
- Click “IAM”
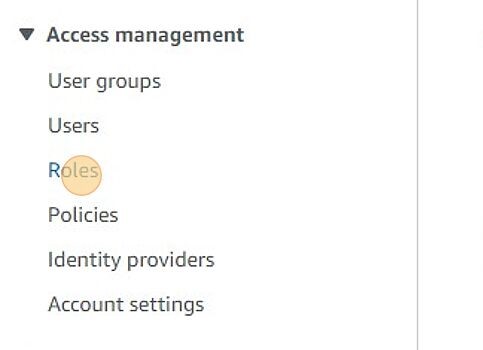
- Click “Roles”
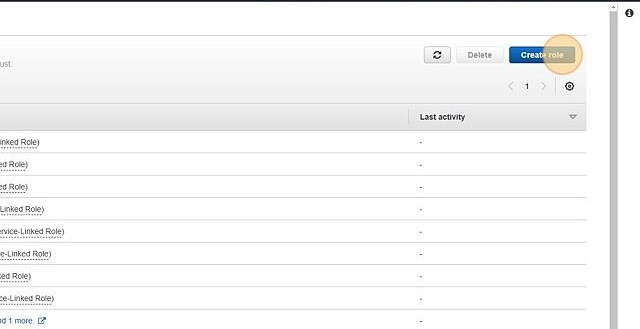
- Click “Create role”
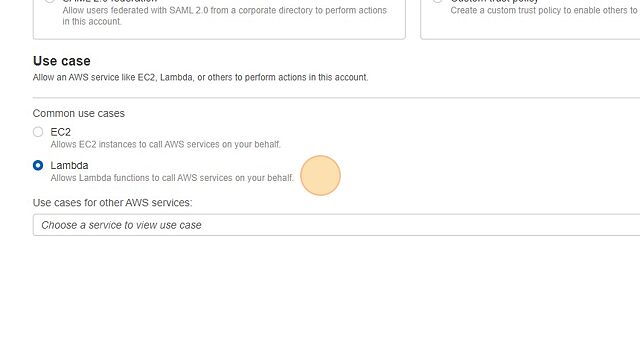
- Select “AWS Service” and the “Lambda”
- Click “Next”
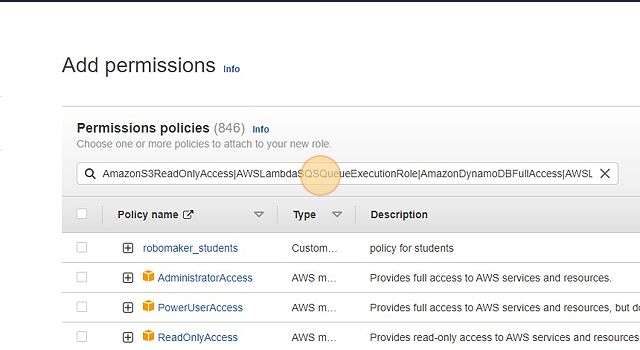
- Filter the roles. You can filter with this “AmazonS3ReadOnlyAccess|AWSLambdaSQSQueueExecutionRole|AmazonDynamoDBFullAccess|AWSLambdaBasicExecutionRole”
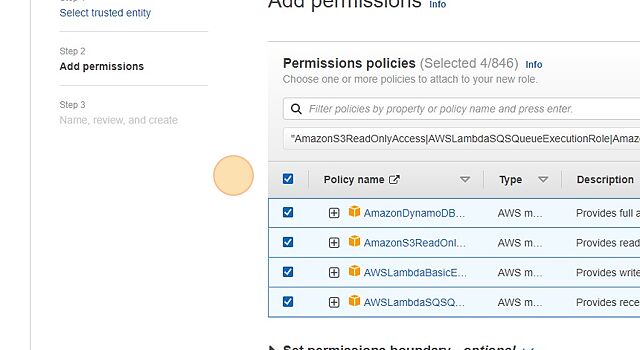
- Click “Next”
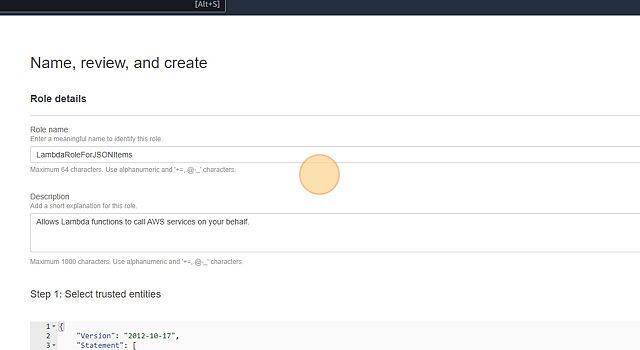
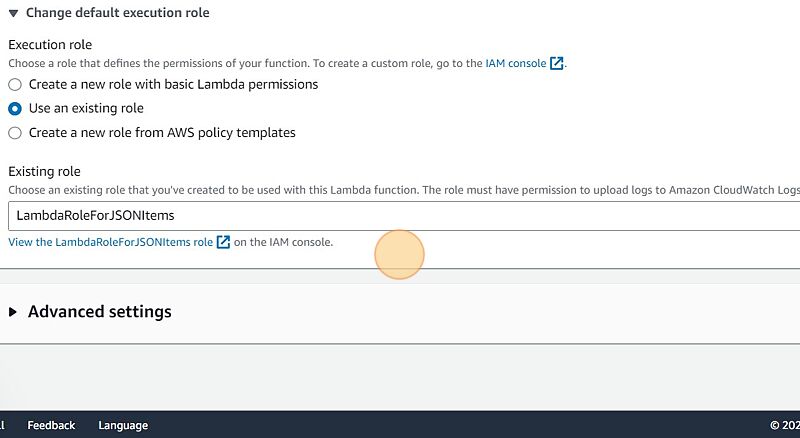
- Provide a name to the role like “LambdaRoleForJSONItems”
- Click “Create role”
Create Lambda Function
- Click “Services”
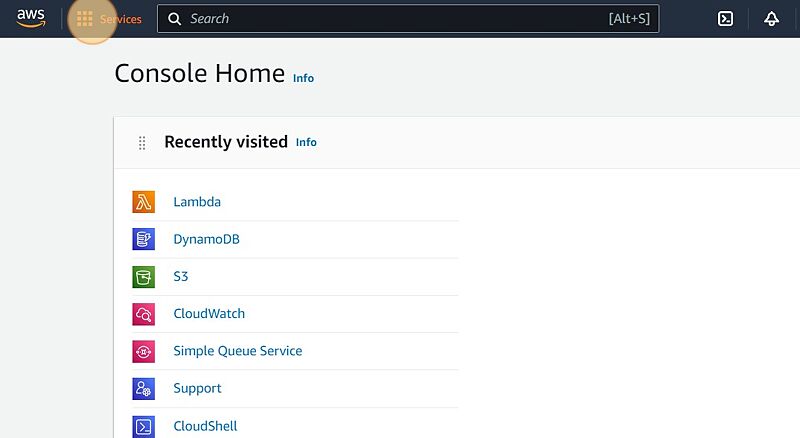
- Click “Compute”
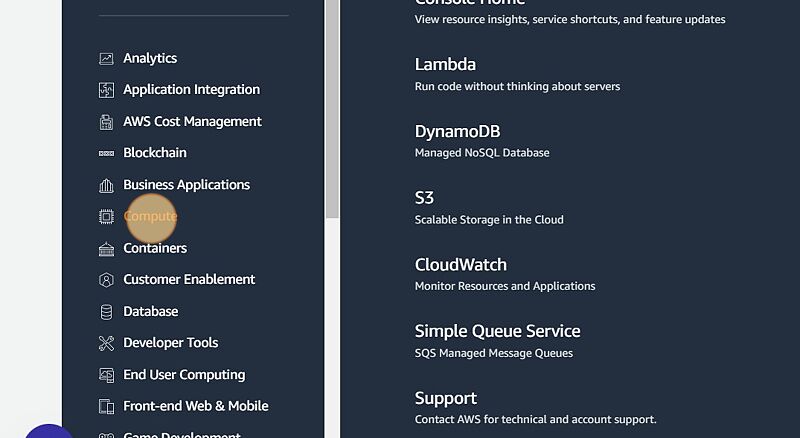
- Click “Lambda”
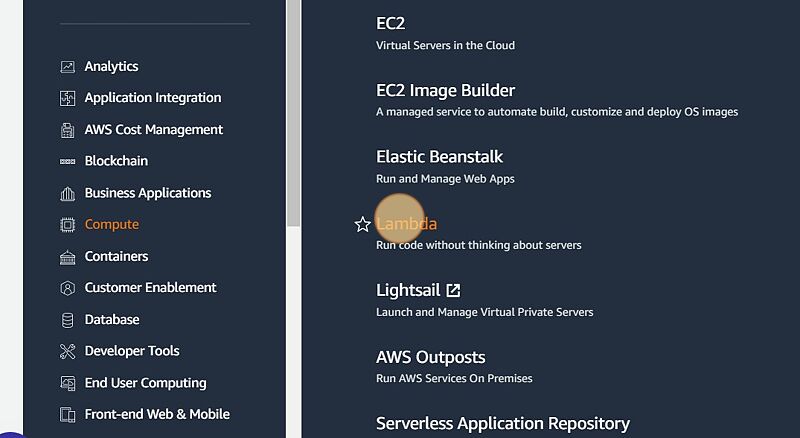
- Click “Create function”
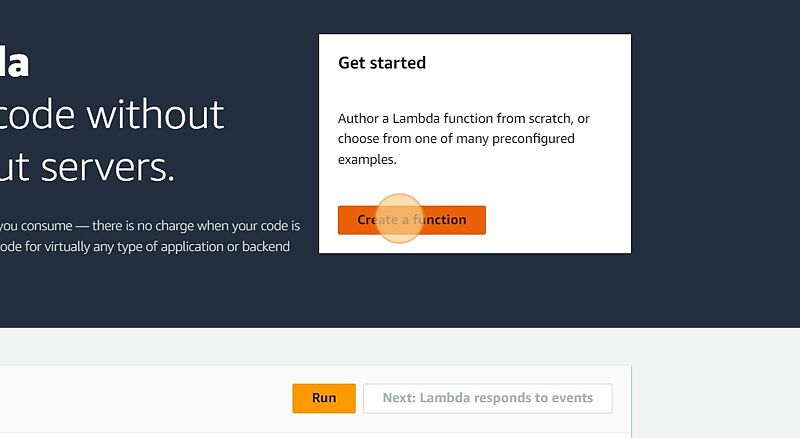
- Click “Author from scratch”
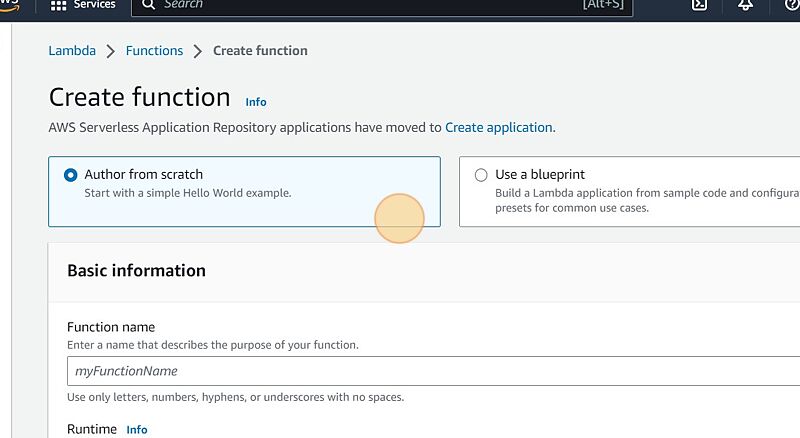
- Provide a Function name. Here I am calling it “JSONProcessingLambdaFunctionTriggeredBySQS”. Also I am going to use Python as Runtime.
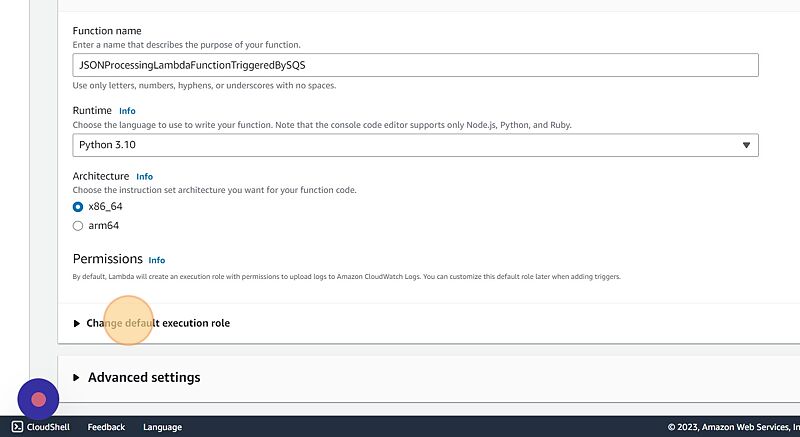
- Now we can use the role which we created and link it with this Lambda Function.
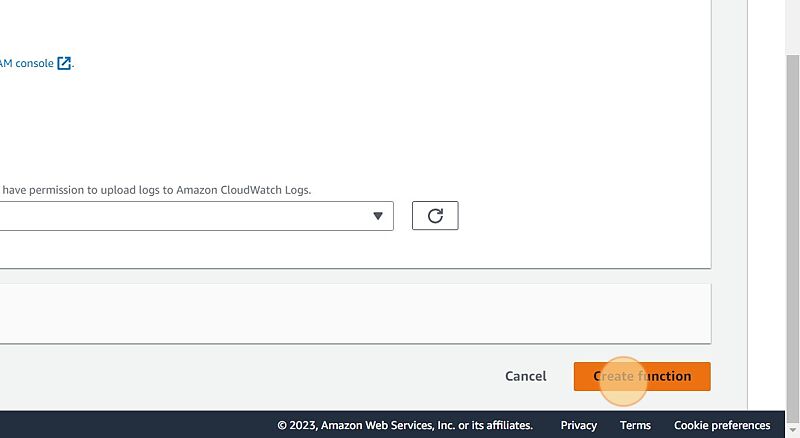
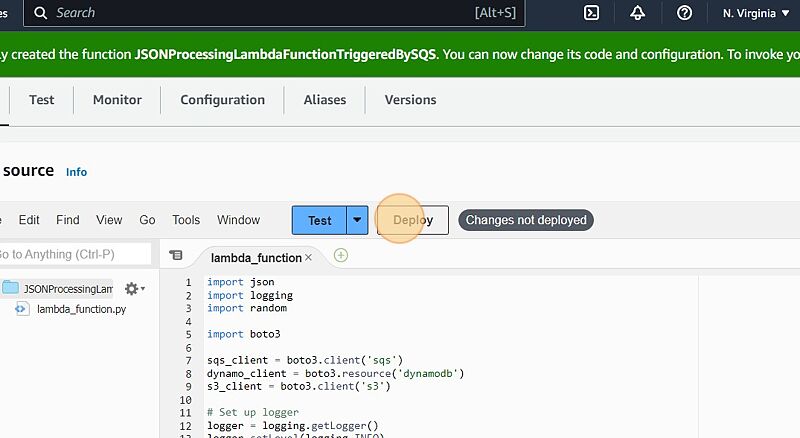
- Click on “Create function”
- Next screen we can add the Lambda “Code”. I am going to add the Python Code. It is well documented.
Please open the code block below to view the complete code.
import json
import logging
import random

import boto3

sqs_client = boto3.client('sqs')
dynamo_client = boto3.resource('dynamodb')
s3_client = boto3.client('s3')

# Set up logger
logger = logging.getLogger()
logger.setLevel(logging.INFO)

def lambda_handler(event, context):
    # Log SQS event
    logger.info({
        'message': 'Received SQS event',
        'event': event,
        'awsRequestId': context.aws_request_id,
        'functionName': context.function_name
    })

    # Extract S3 event from SQS message body
    s3_event = json.loads(event['Records'][0]['body'])

    # Log S3 event
    logger.info({
        'message': 'Received S3 event',
        'event': s3_event,
        'awsRequestId': context.aws_request_id,
        'functionName': context.function_name
    })

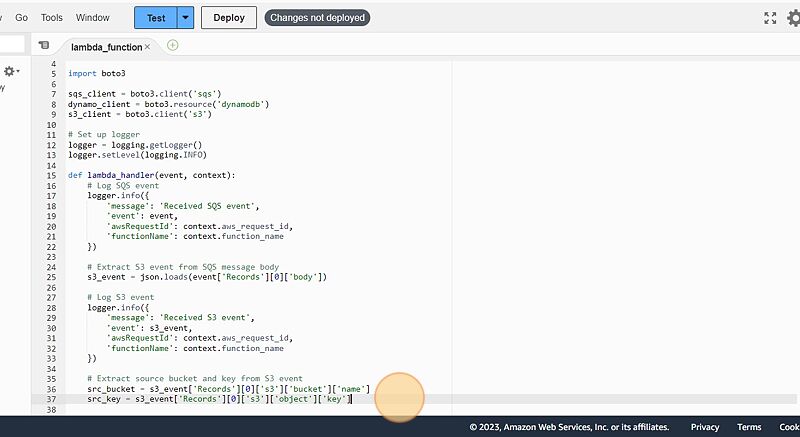
    # Extract source bucket and key from S3 event
    src_bucket = s3_event['Records'][0]['s3']['bucket']['name']
    src_key = s3_event['Records'][0]['s3']['object']['key']

    # Set parameters for getting S3 object
    s3_params = {
        'Bucket': src_bucket,
        'Key': src_key
    }

    # Get S3 object and read its content as string
    s3_obj = s3_client.get_object(**s3_params)
    s3_body = s3_obj['Body'].read().decode('utf-8')

    # Log S3 object body
    logger.info({
        'message': 'Retrieved S3 object body',
        's3ObjectBody': s3_body,
        'awsRequestId': context.aws_request_id,
        'functionName': context.function_name
    })

    # Parse S3 object body as JSON
    item = json.loads(s3_body)

    # Generate a random ID and add it to the JSON item
    item['id'] = str(random.random() * (10**16))

    # Get DynamoDB table for processed items
    processed_items_table = dynamo_client.Table('JSONItemTable')

    # Put the JSON item into the DynamoDB table
    result = processed_items_table.put_item(Item=item)

    # Log result
    logger.info({
        'message': 'Put item into DynamoDB table',
        'result': result,
        'awsRequestId': context.aws_request_id,
        'functionName': context.function_name
    })

    return result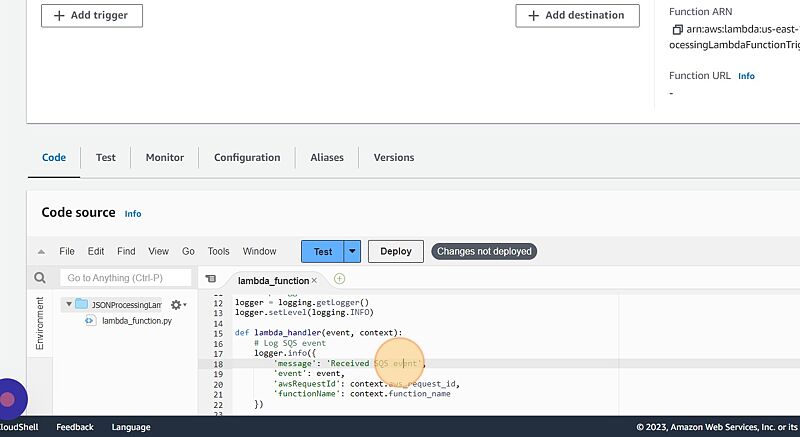
- Click “Deploy”
Application integration
Here we would like to create a queue which will take the input from the S3 bucket and pass it to our Lambda function.
To have high resilience we will also have a dead-letter queue which will be containing all the json which are not processed properly. We will have a retention of 14 days for those json items.
Creating dead-letter queue
- Click “Services”
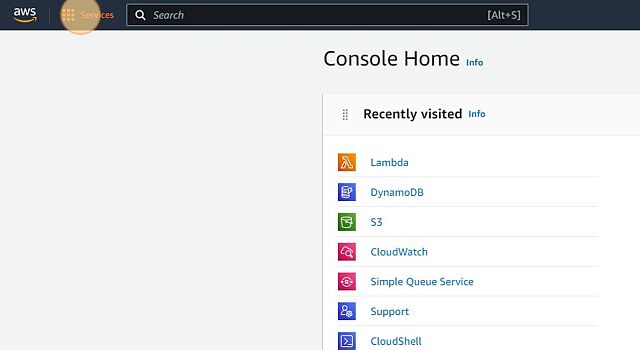
- Click “Application Integration”
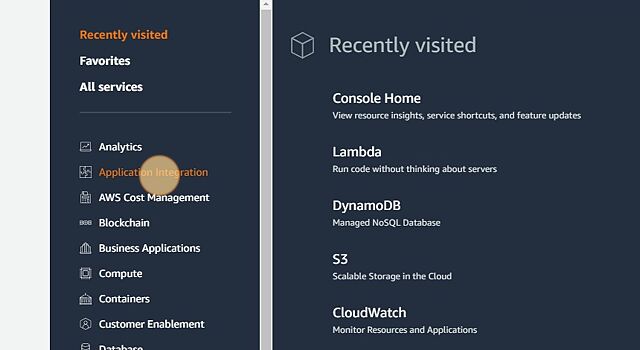
- Click “Simple Queue Service”
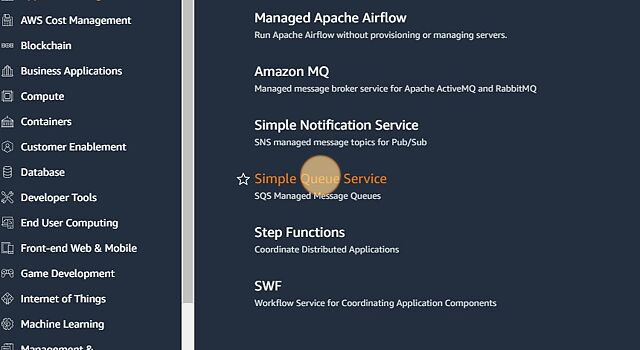
- Click “Create queue”
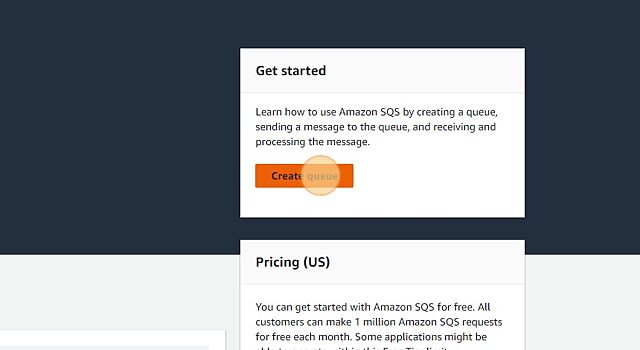
- Provide a name to dead-letter queue. Here I am giving it a name “JSONDeadLetterQueue”
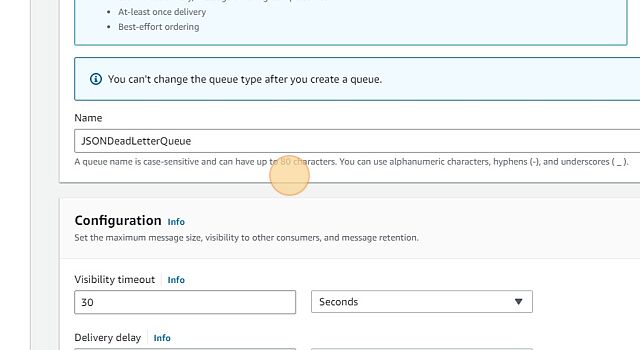
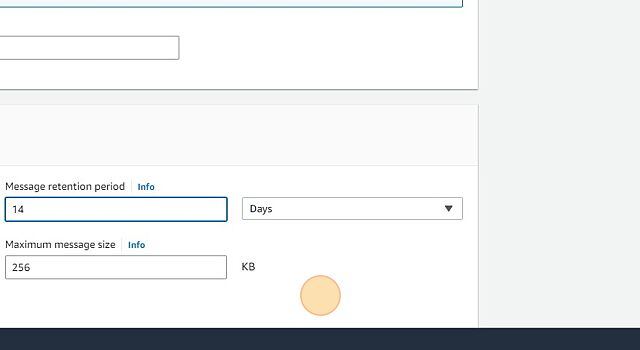
- We can also set the retention policy. For now I am setting it to 14 days.
- Click “Create queue”.
Create queue for S3 bucket event notification
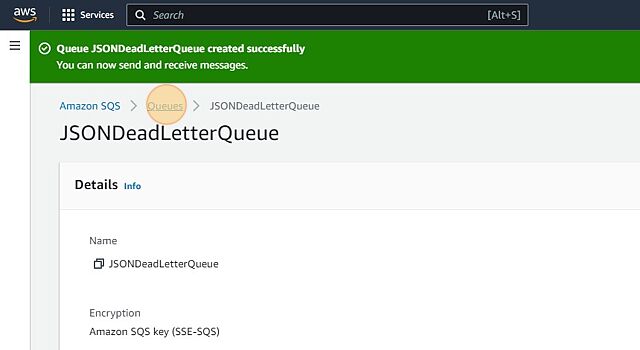
- Click back “Queue”
- Click “Create queue” again.
- Set the name for the queue. I am naming it “JSONProcessingQueue”.
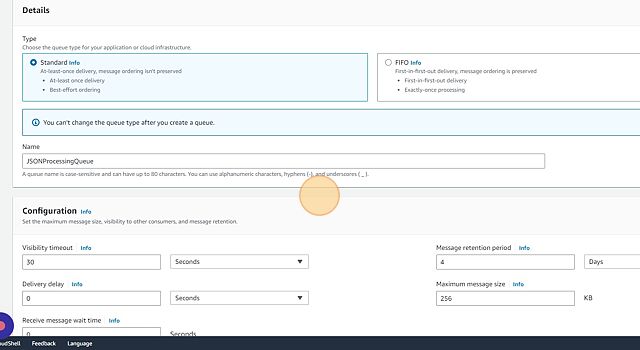
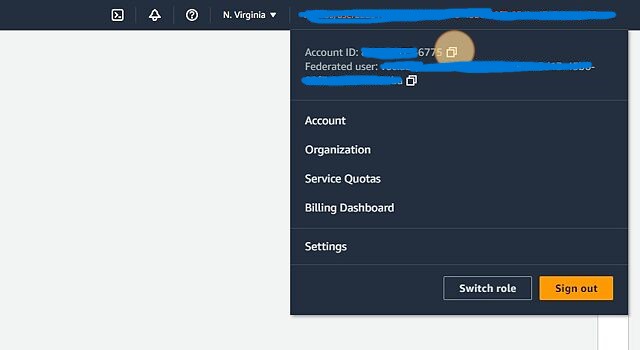
- Next step will be to modify the access policy for the queue. For this you will need the account ID as well as the S3 bucket name. You can get the account ID under the profile name.
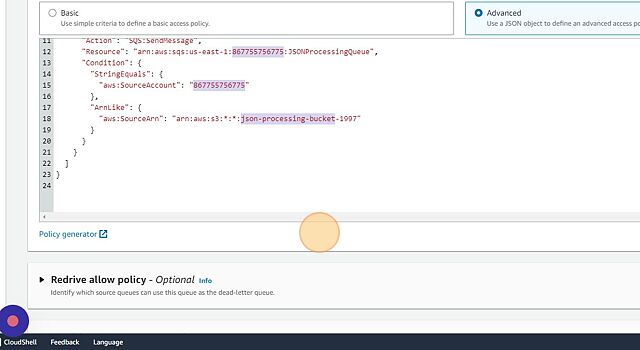
- Under “Access policy” click on “Advanced” and paste the following json.
WARNING — Replace with yours
Please note that you will have to modify it as per your account name and S3 bucket name.
{
  "Version": "2012-10-17",
  "Id": "JSONProcessingQueue-ID",
  "Statement": [
    {
      "Sid": "JSONProcessingQueue-statement-ID",
      "Effect": "Allow",
      "Principal": {
        "AWS": "*"
      },
      "Action": "SQS:SendMessage",
      "Resource": "arn:aws:sqs:us-east-1:CHANGE-WITH-YOUR-ACCOUNT-ID:JSONProcessingQueue",
      "Condition": {
        "StringEquals": {
          "aws:SourceAccount": "CHANGE-WITH-YOUR-ACCOUNT-ID"
        },
        "ArnLike": {
          "aws:SourceArn": "arn:aws:s3:*:*:CHANGE-WITH-YOUR-BUCKET-NAME"
        }
      }
    }
  ]
}
- Select the dead-letter queue we had created in the previous section.
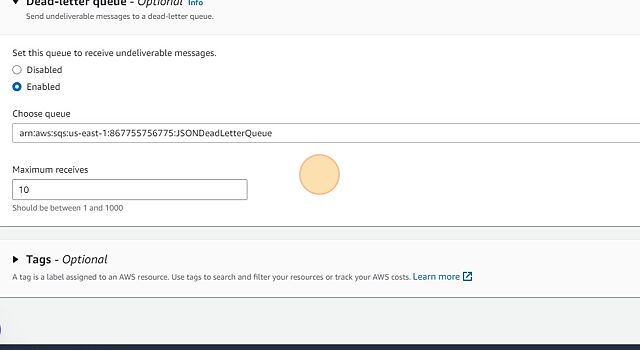
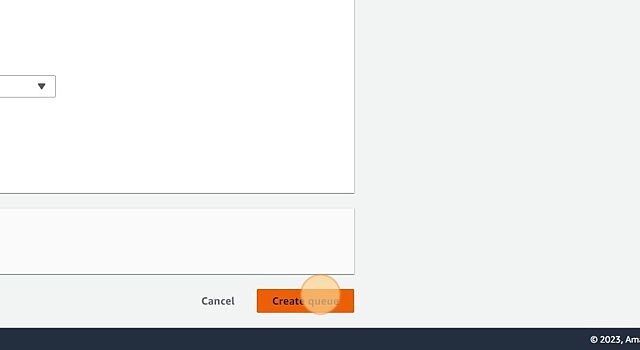
- Click “Create queue”
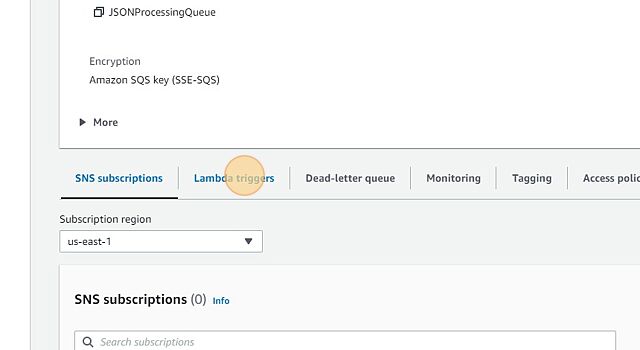
- Click “Lambda triggers”
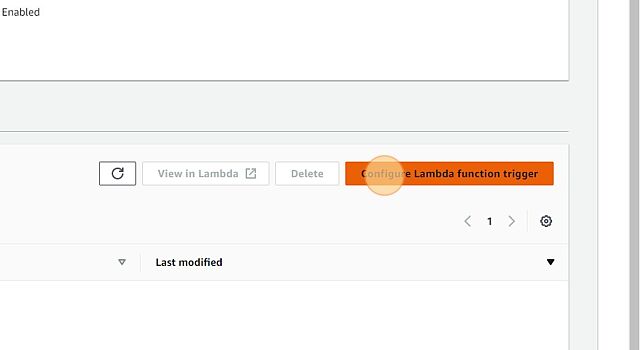
- Click “Configure Lambda function trigger”
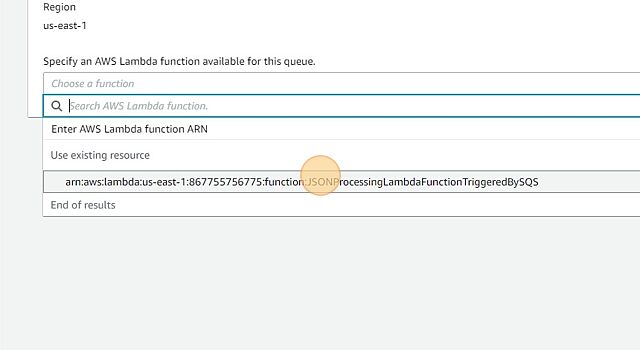
- Select the lambda function which we created before.
- Click “Save”
Push event notification from S3 to SQS
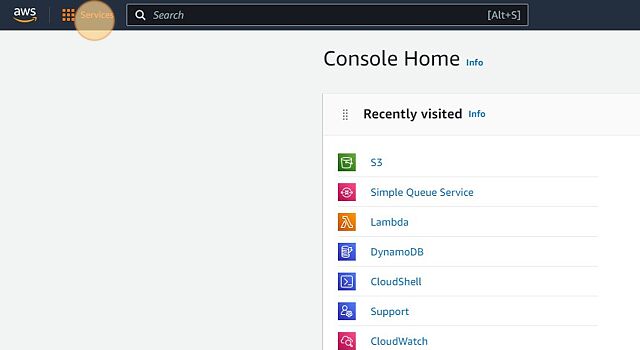
- Click “Services”
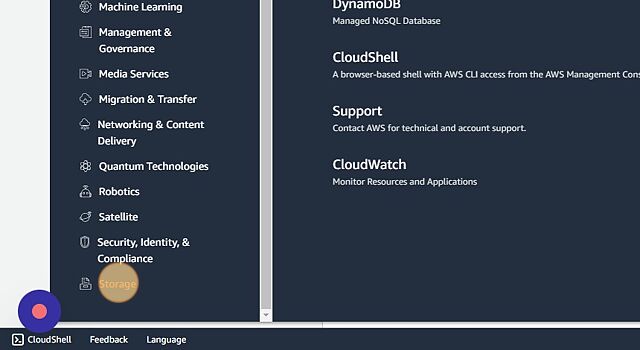
- Click “Storage”
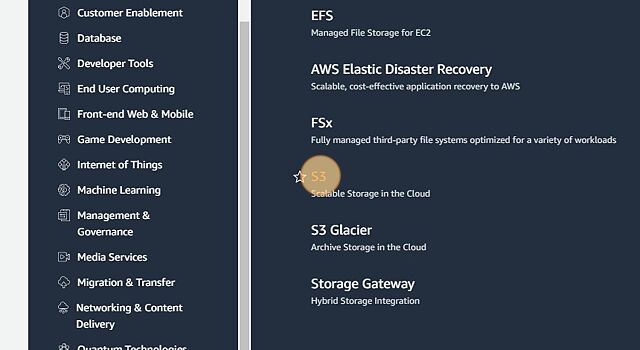
- Click “S3”
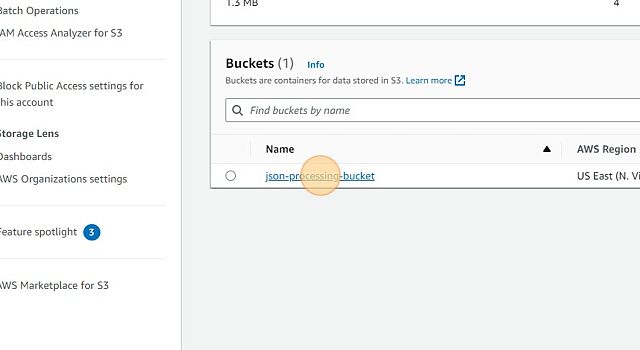
- Click “json-processing-bucket” (Your bucket name might be different)
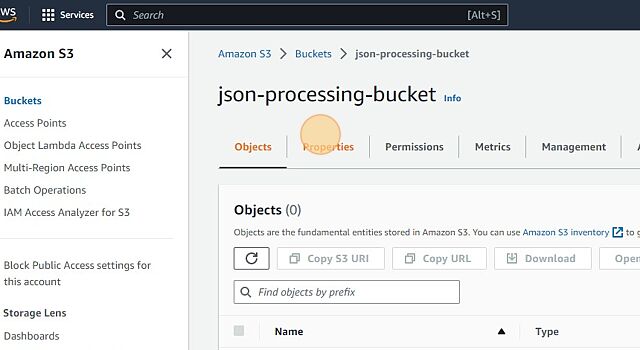
- Click “Properties”
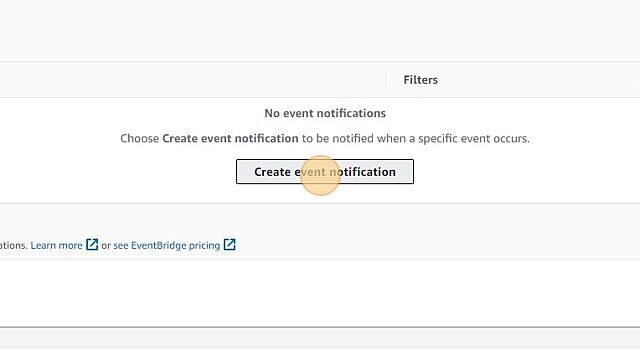
- Click “Create event notification”
- Give the event notification a name. I have given it the name “sqs-event-notification”. Also I have given access to all object creation events. So anytime a new object is pushed to S3, it will trigger an event to the SQS queue.
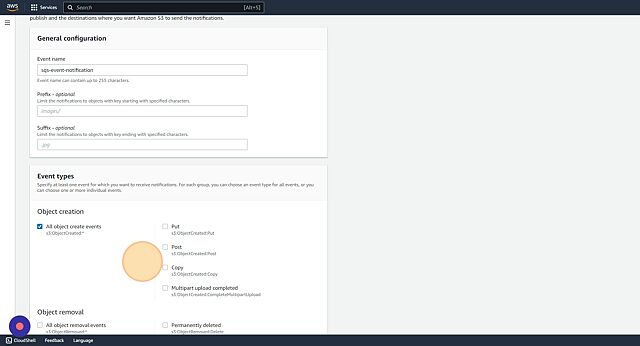
- We can link the SQS under “Destination”
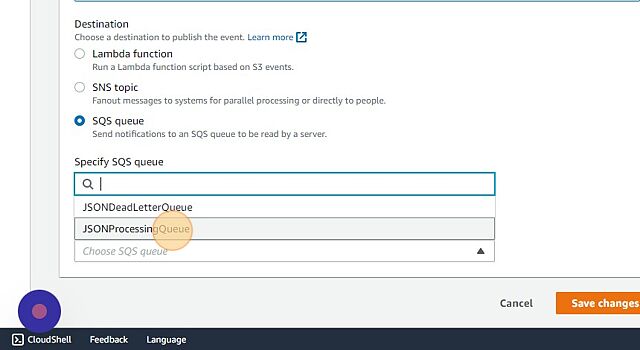
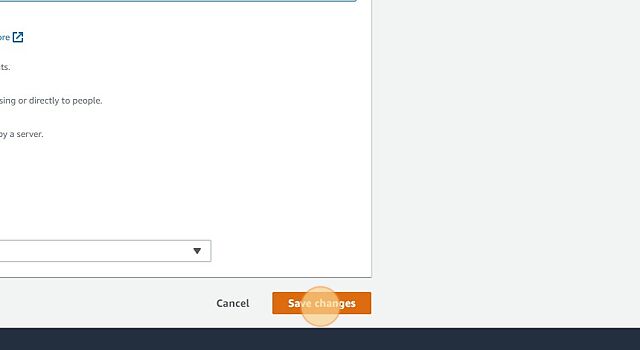
- Click “Save changes”
Try out to see if the DynamoDB database is getting updated on new push
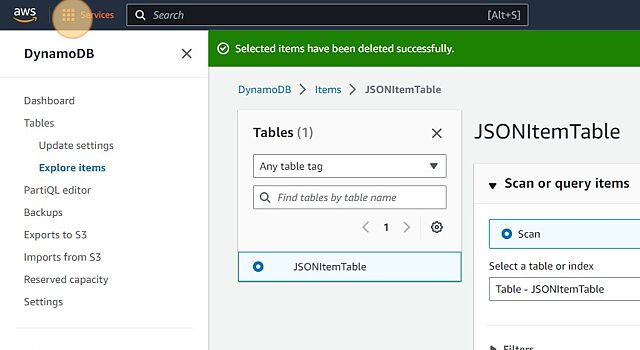
- Click “Services”
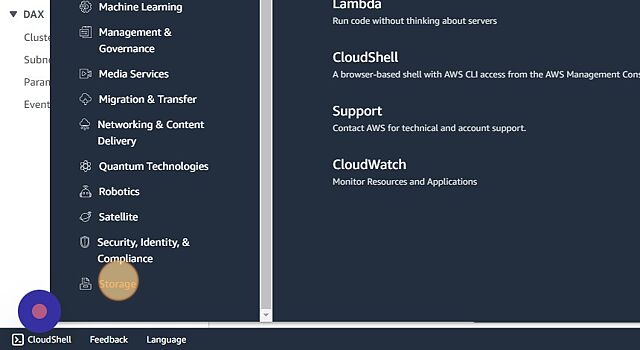
- Click “Storage”
- Click “S3”
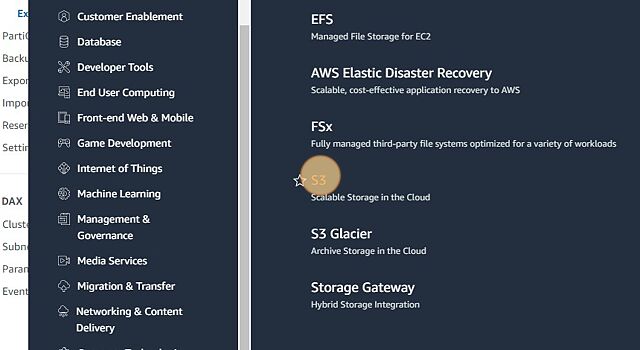
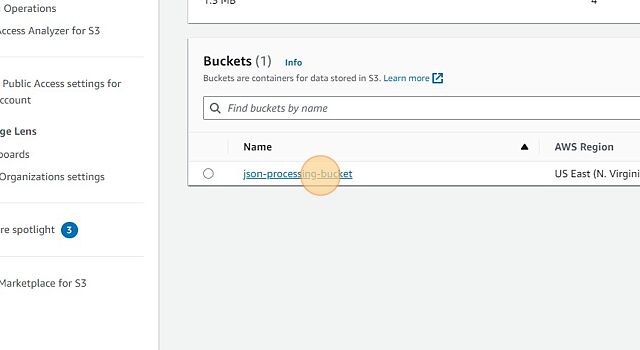
- Click “json-processing-bucket”
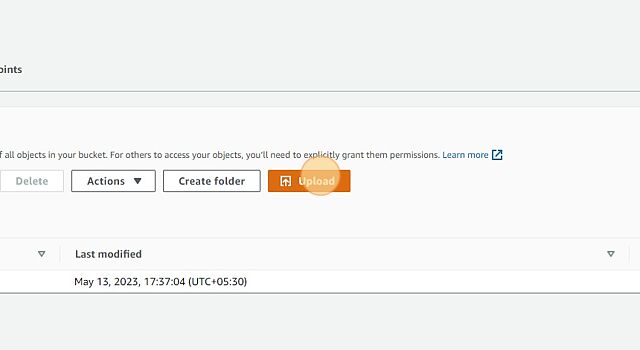
- Click “Upload”
- Click “Add files”
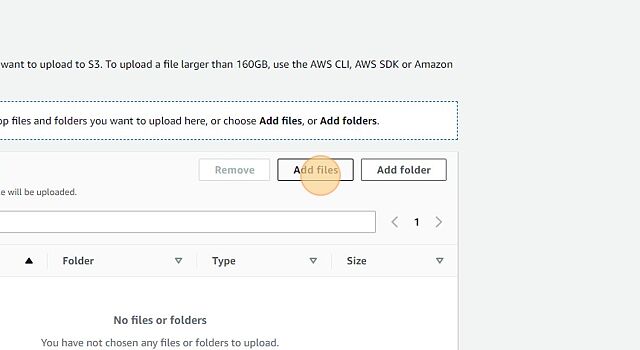
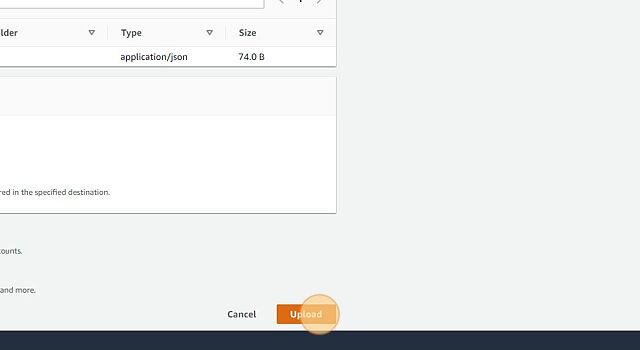
- Click “Upload” and select the file. For demonstration purposes, try to upload a valid JSON file
- Click “Services”
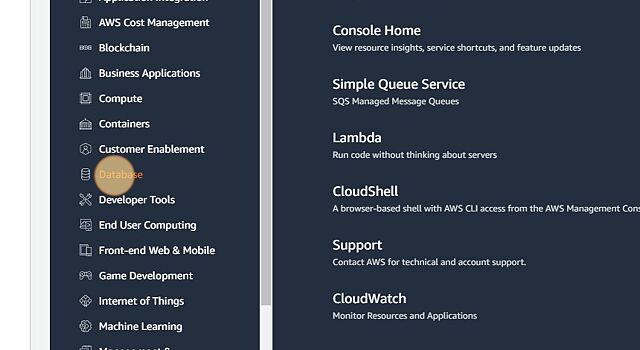
- Click “Database”
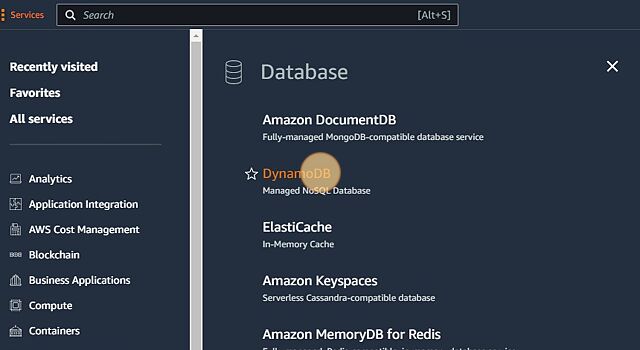
- Click “DynamoDB”
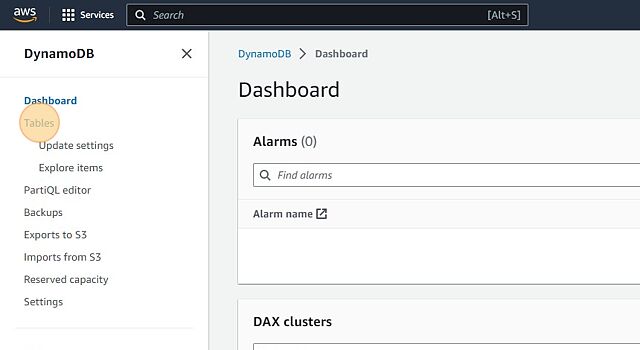
- Click “Tables”
- Click “JSONItemTable”
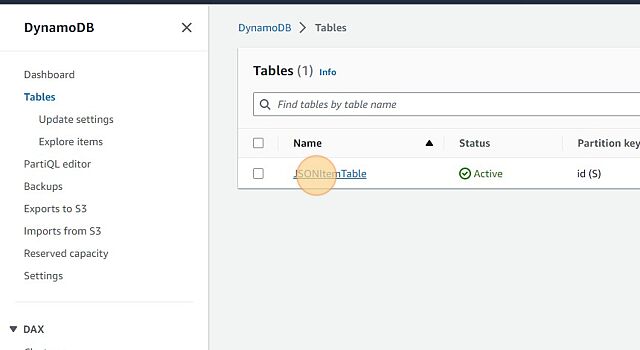
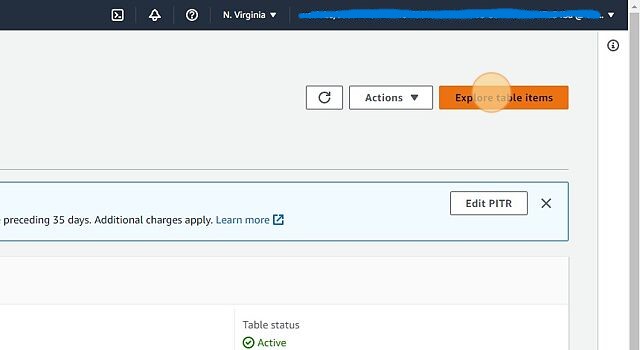
- Click “Explore table items”
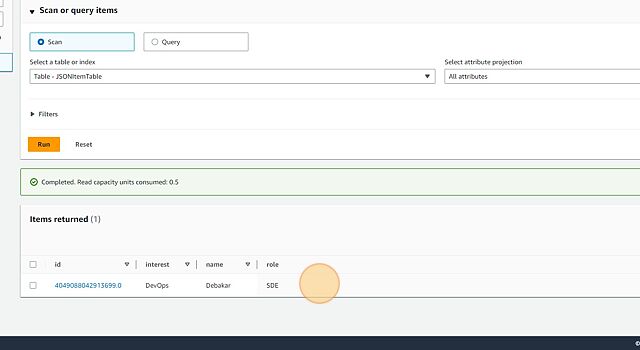
- Verify that the data is uploaded properly
That covers the whole process of deploying a simple serverless application using AWS Lambda.
Production notes
The walkthrough above keeps the code simple for learning. For a production version, consider the following:
- The handler only reads
Records[0], so the rest of an SQS batch is silently ignored — loop over all ofevent['Records']instead. str(random.random() * 10**16)can collide and is not idempotent across SQS redeliveries — preferuuid.uuid4()or a deterministic key derived from the payload.- The role grants
AmazonDynamoDBFullAccess; scope it down to least privilege (e.g. onlyPutItemonJSONItemTable). - S3 object keys arrive URL-encoded in event notifications — decode them (e.g. with
urllib.parse.unquote_plus) before callingget_object, and add error handling around the S3/DynamoDB calls.